1st Grade
1st grade Workshop
Teaching coding is no easy feat, and you’ve done an exceptional job at it this school year! This workshop is designed to help you continue building your confidence with the 9 Dots curriculum during the second half of the year. We’ll begin by reviewing key coding concepts in your grade level’s curriculum, followed by dedicated planning time to ensure you are well-prepared to lead your upcoming coding lessons. Finally, we’ll provide a sneak peek of what’s to come in the Module 3 project your students will work on by the end of the year. As you go through this workshop, use our Graphic Organizer to take notes along the way.
Quick Navigation
Review Coding Concepts
Module B, aimed at 1st and 2nd graders, builds on the foundation set in Kindergarten, starting with a refresher on writing code and sequencing concepts in Module B1. Module B2 progresses by introducing the fundamental concept of loops. Students will initially learn about loops through reading exercises, and then progress to writing code that incorporates loops. This reinforces their understanding of sequencing while developing students’ pattern recognition abilities.
What is a loop?
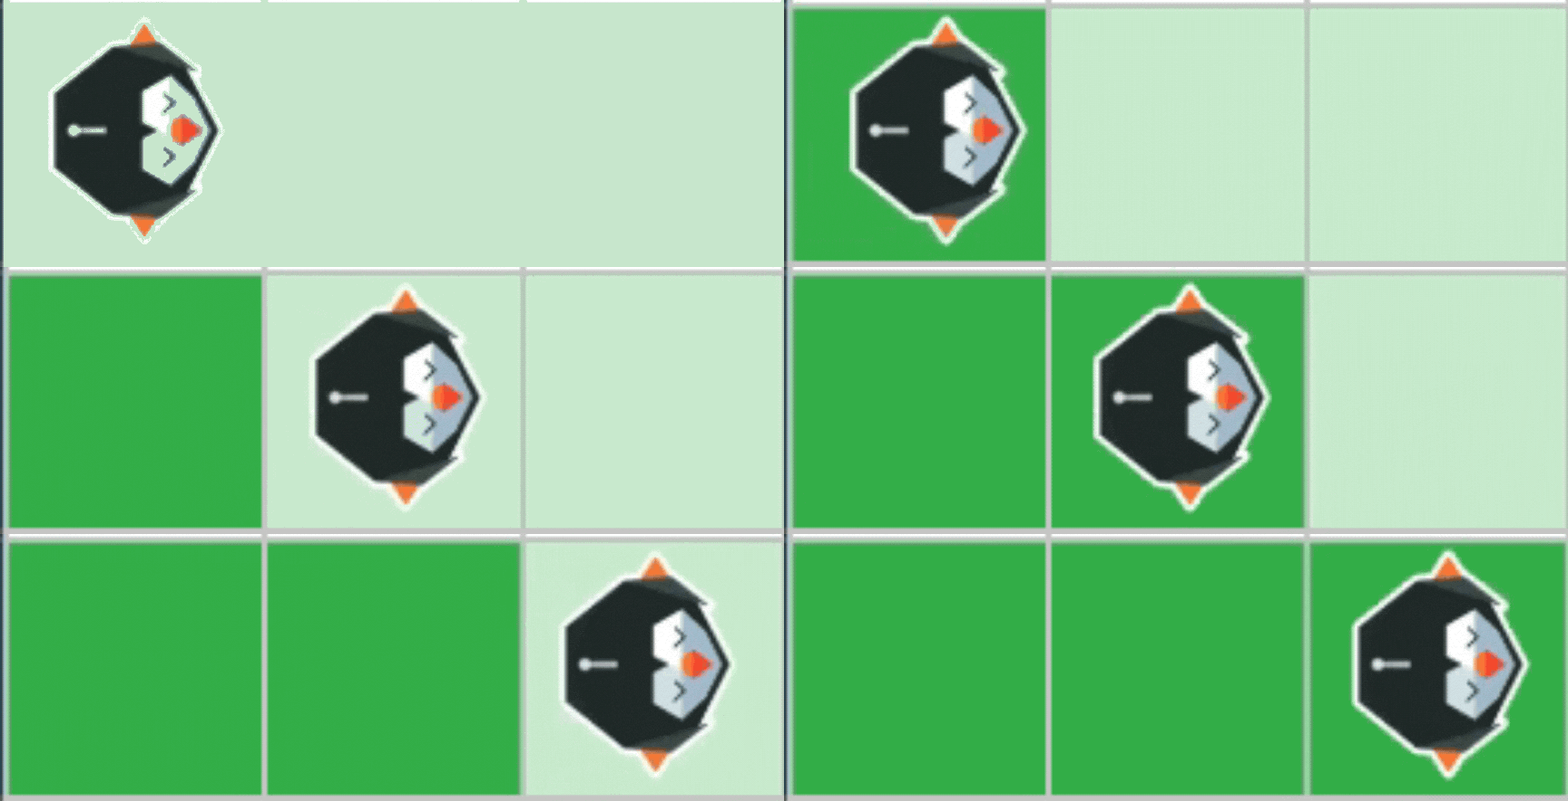
A loop is a programming1 tool that allows us to repeat sequences of code without rewriting the blocks multiple times. In Module B1, students might have written long code sequences with repetitive elements. This repetition often indicates a pattern. The repeating elements are called the core of a pattern. By placing the core inside a ‘loop block’ and changing its number argument - the number of times the loop should repeat - we’re able to write shorter code programs, which run more efficiently.
When approaching challenges, students should be looking for patterns in the image of the goal, like lines or squares. These patterns can usually be replicated by using a loop in code.
💡 Take a moment to add any key vocabulary words and definitions to your handout!
Reading code with loops
Starting in Lesson B2.02, students learn how to read code with loops by completing reading challenges. These challenges show students how computers interpret loops and repeat code sequences within them. Students will find pre-written code with a loop on the right-hand side of the screen. Their task is to sequentially read each code block and replicate its action by pressing the corresponding button located on the lower left-hand side below the PixelBot grid. When reading code sequences inside of a loop, students have to replicate the sequence as many times as the number argument in the loop block indicates.
Watch the video below to learn how to complete a reading challenge with loops
Try completing a reading challenge with loops below!
Writing code with loops
In Lesson B2.04, students begin to write code with loops by following the Say it, Loop it, Count it strategy:
Say It: Verbally describe PixelBot’s directions
Loop It: Identify the pattern’s core and encase it in a loop
Count It: Determine the loop’s repetition count and adjust the number argument
Watch the video below to learn how to complete a writing challenge with loops
Try completing a writing challenge with loops below!
Code outside of loops
As students become more proficient with writing loops, they learn to distinguish between code that belongs inside of the loop versus outside of the loop. Code blocks that form a pattern are ideal candidates for inclusion within a loop, effectively shortening and simplifying repetitive sequences. On the other hand, code that does not form a pattern must be placed before or after the loop. This differentiation is crucial for maintaining the correct sequence of actions in their coding challenges and enhances their understanding of efficient code structuring
Watch the video below to learn how to complete a writing challenge with code outside of loops
Try completing a writing challenge with code outside loops below!
💡 Which challenge type(s) could be the trickiest for your students? Write down ways you can support them, or list questions you have for your Coding Coordinator on your handout.
Review Lessons & Create Your Action Plan
Prepare for your upcoming lessons by reviewing lesson materials and creating an Action Plan. Start by reviewing the lesson plan, slideshow, and challenges, and then decide which section(s) of the lesson you’ll lead or co-lead with your coordinator.
💡 Use the Graphic Organizer for step by step instructions to create your Action Plan
Preview Module 3: PixelToys
With any remaining time you have, take a sneak peek at the project your students are building up to!
In Module B3, students end the coding year by participating in a fun and creative project, PixelToys, that has them code their own toys using their emerging sequencing and looping skills. This module consists of 10 lessons and is broken down as follows:
Lesson 1
Review writing code with loops by completing several challenges
Select one of four pre-designed Pixel Toys (Doll, Spaceship, Stuffed Animal, or Dinosaur)
Lessons 2-4
- Review writing and debugging2 code with loops
- Continue coding their selected toy
Lesson 5
Finish coding their selected toy
Complete a Code Review handout. Please print & distribute one copy to each student
Share projects with the whole class by participating in a code-share celebration
Lessons 6-10
Repeat the same process outlined above, only this time they design and code their own toy
You can take a deeper look at this module by reviewing the Scope and Sequence here, or via the 9 Dots platform.
Survey
Thank you for attending our Semester II PD! We take teacher feedback seriously, please take our survey here.
Access Resources
Looking for more coding practice?
For more practice please log onto the 9 Dots platform and try our Teacher Certification Modules. These modules will prepare you to lead and learn alongside your students.
Find additional resources at https://www.9dots.org/teacher-guide
Footnotes
[1] The terms "programming" and "coding" are used interchangeably. Both refer to the process of writing instructions for computers to execute, creating software, and solving computational problems.
[2] A bug is an error that prevents our code from behaving the way we want or expect it to. Why are these errors called bugs? You can click here to read about the first computer bug!


