3rd Grade
3rd grade Workshop
Teaching coding is no easy feat, and you’ve done an exceptional job at it this school year! This workshop is designed to help you continue building your confidence with the 9 Dots curriculum during the second half of the year. We’ll begin by reviewing key coding concepts in your grade level’s curriculum, followed by dedicated planning time to ensure you are well-prepared to lead your upcoming coding lessons. Finally, we’ll provide a sneak peek of what’s to come in the Module 3 project your students will work on by the end of the year. As you go through this workshop, use our Graphic Organizer to take notes along the way.
Quick Navigation
Coding Concept Review
Module D introduces students to the fundamental coding concepts of Loops and Functions.
The first module, Module D1, is centered on programming loops. A loop is a programming structure or tool that allows you to efficiently repeat a sequence of code. To effectively incorporate loops into their coding, students are required to develop skills in pattern recognition, decomposition, and backwards planning. These are core problem-solving competencies that not only enhance their coding proficiency but also support learning in other academic areas, including mathematics. In Module D2, students learn another programming tool to efficiently organize their code, functions. A function is a tool in coding that allows you to define a sequence of code and reuse it to perform a specific task. Learning about functions encourages students to think critically about breaking down complex problems into smaller, more manageable parts.
💡 What are the differences between loops and functions? Note them in your handout.
Loops
A loop is a programming structure that repeats a sequence of code. When approaching a challenge, students should be looking for patterns in the image of the goal such as lines or squares. These patterns usually can be efficiently replicated using a loop.
Watch the video below to learn more about Loops in PixelBots
Try solving this Loop challenge below!
Functions
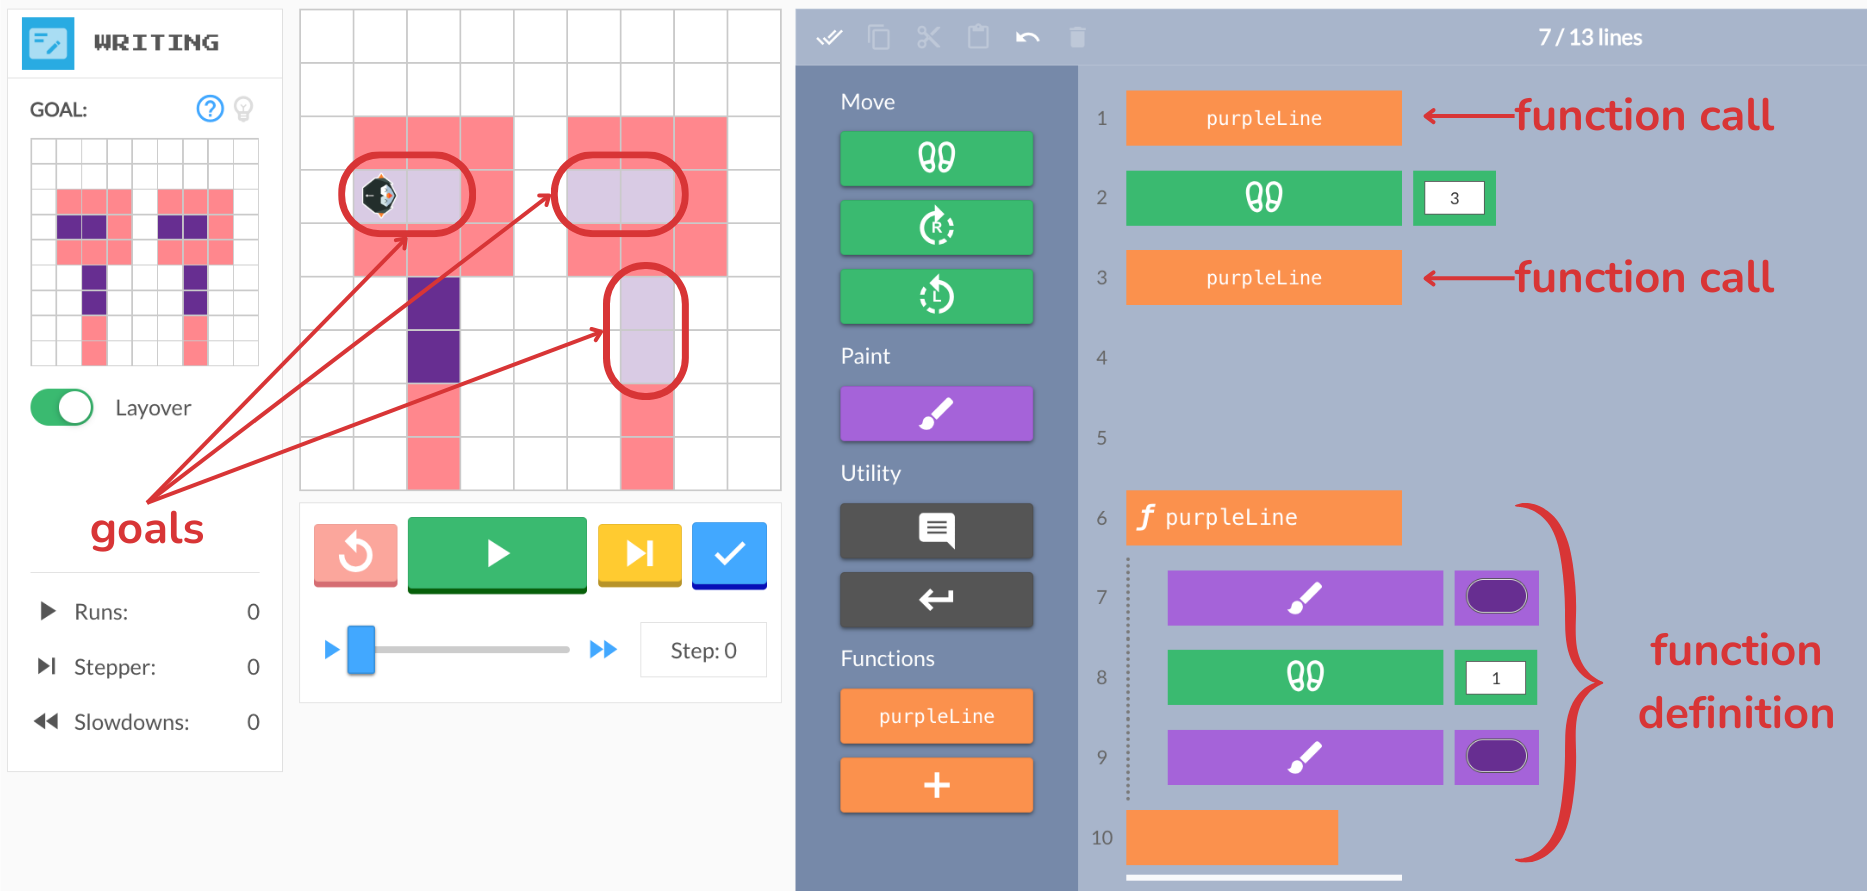
In coding, a function is another kind of programming structure or tool that enables us to define and repeatedly execute a sequence of code. Think of a function in coding like a shortcut in a recipe book. It’s a set of instructions that you can use over and over again. When students define a function, they’re writing down steps (or code) to perform a task, and giving it a name. Later, they can use this name, referred to as “calling the function” or function call, to repeat the task without rewriting all the steps, just like using a recipe from a cookbook whenever they need it. When approaching a functions challenge, students should look for a sequence of code that they would like to reuse and then store that code in a function definition.
When you're coding with functions, there are three important steps to follow. First, you add a function into the code editor. Second, is defining the function: this is where you write down the steps (or code) to accomplish a specific task in the challenge. Third, you use the function by calling its name in the main code. This is like telling the computer, “Hey use the steps I set up earlier,” or using our recipe analogy, “Hey, remember that recipe for a ‘Purple Line’ I wrote, use that here.” Without a function call, the computer won't know how to use the recipe. We cover these skills throughout the entire module.
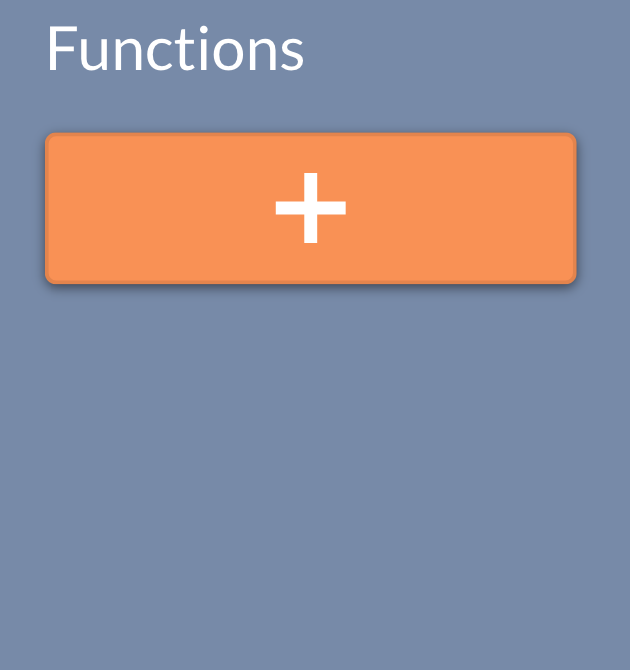
Step 1: Click the + button
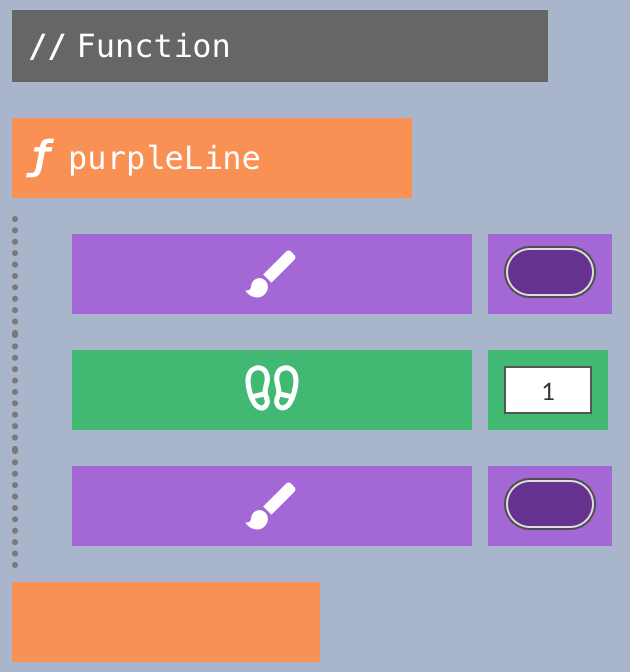
Step 2: Define your function
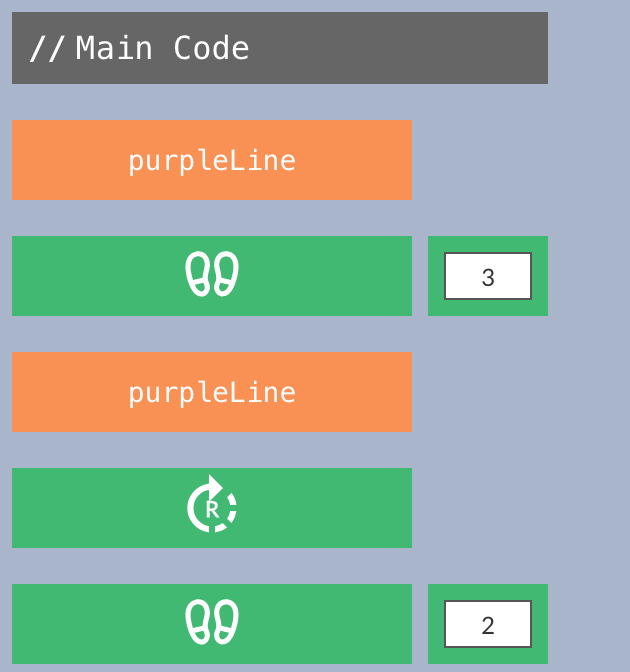
Step 3: Call your function
💡 Take a moment to add these three steps for coding with functions on your handout!
The goal of this challenge is to create three purple lines. Therefore, we will define one function which creates a purple line. Then we will call the function in the main code above to paint each purple line.
Watch the video below to learn how to define and call a function
Solve a functions challenge from lesson 05 below
💡 What challenges do you anticipate your students facing when coding with functions? List them on your handout so you can discuss later with your Coding Coordinator.
Prepare for Your Next Lesson
Level 1 teachers: Select your next lesson. Then, use the pacing guide below to see which section(s) you will lead or if you will be leading the full lesson. If your next lesson is Lesson 1, use Lesson 2 instead.
Level 2 teachers: Select the next full lesson you will lead according to the pacing guide.
Prepare for your lesson
Use the Graphic Organizer to guide you through your preparation. You’ll review the following resources on the platform:
- Review the lesson plan to familiarize yourself with the content
- Review the slideshow to see how the content will be delivered
- Preview the challenge playlist and attempt to solve the first challenge
Create your action plan!
After preparing for the chosen lesson above, create an action plan for that lesson on your Graphic Organizer. You’ll then do the same for two other upcoming lessons according to your pacing guide. Be prepared to share with the group what lessons you'll be leading and when. This will also be shared with your Coding Coordinator to ensure they support you.
- Schedule your next lessons
- Level 1 teachers: Select estimated dates for your chosen lesson above and lessons 9 & 10.
- Level 2 teachers: Select estimated dates for your next 3 lessons, including the lesson you prepared above. (As a reminder, your goal is to lead lessons bi-weekly. For example, if you have recently taught lesson 2, you should plan to lead lessons 4 and 6.)
- Set one CS teaching goal for each lesson
- Consider the following questions when setting your goals:
- What coding concept(s) do I want to feel more confident with by the end of the lesson?
- How can I support my students through any anticipated challenges?
- Is there a teaching strategy I want to try during this lesson?
- Level 1 teachers: Select estimated dates for your chosen lesson above and lessons 9 & 10.
- Level 2 teachers: Select estimated dates for your next 3 lessons, including the lesson you prepared above. (As a reminder, your goal is to lead lessons bi-weekly. For example, if you have recently taught lesson 2, you should plan to lead lessons 4 and 6.)
- Consider the following questions when setting your goals:
- What coding concept(s) do I want to feel more confident with by the end of the lesson?
- How can I support my students through any anticipated challenges?
- Is there a teaching strategy I want to try during this lesson?
Preview Module 3: MonsterQuest
With any remaining time you have, take a sneak peek at the project your students are building up to!
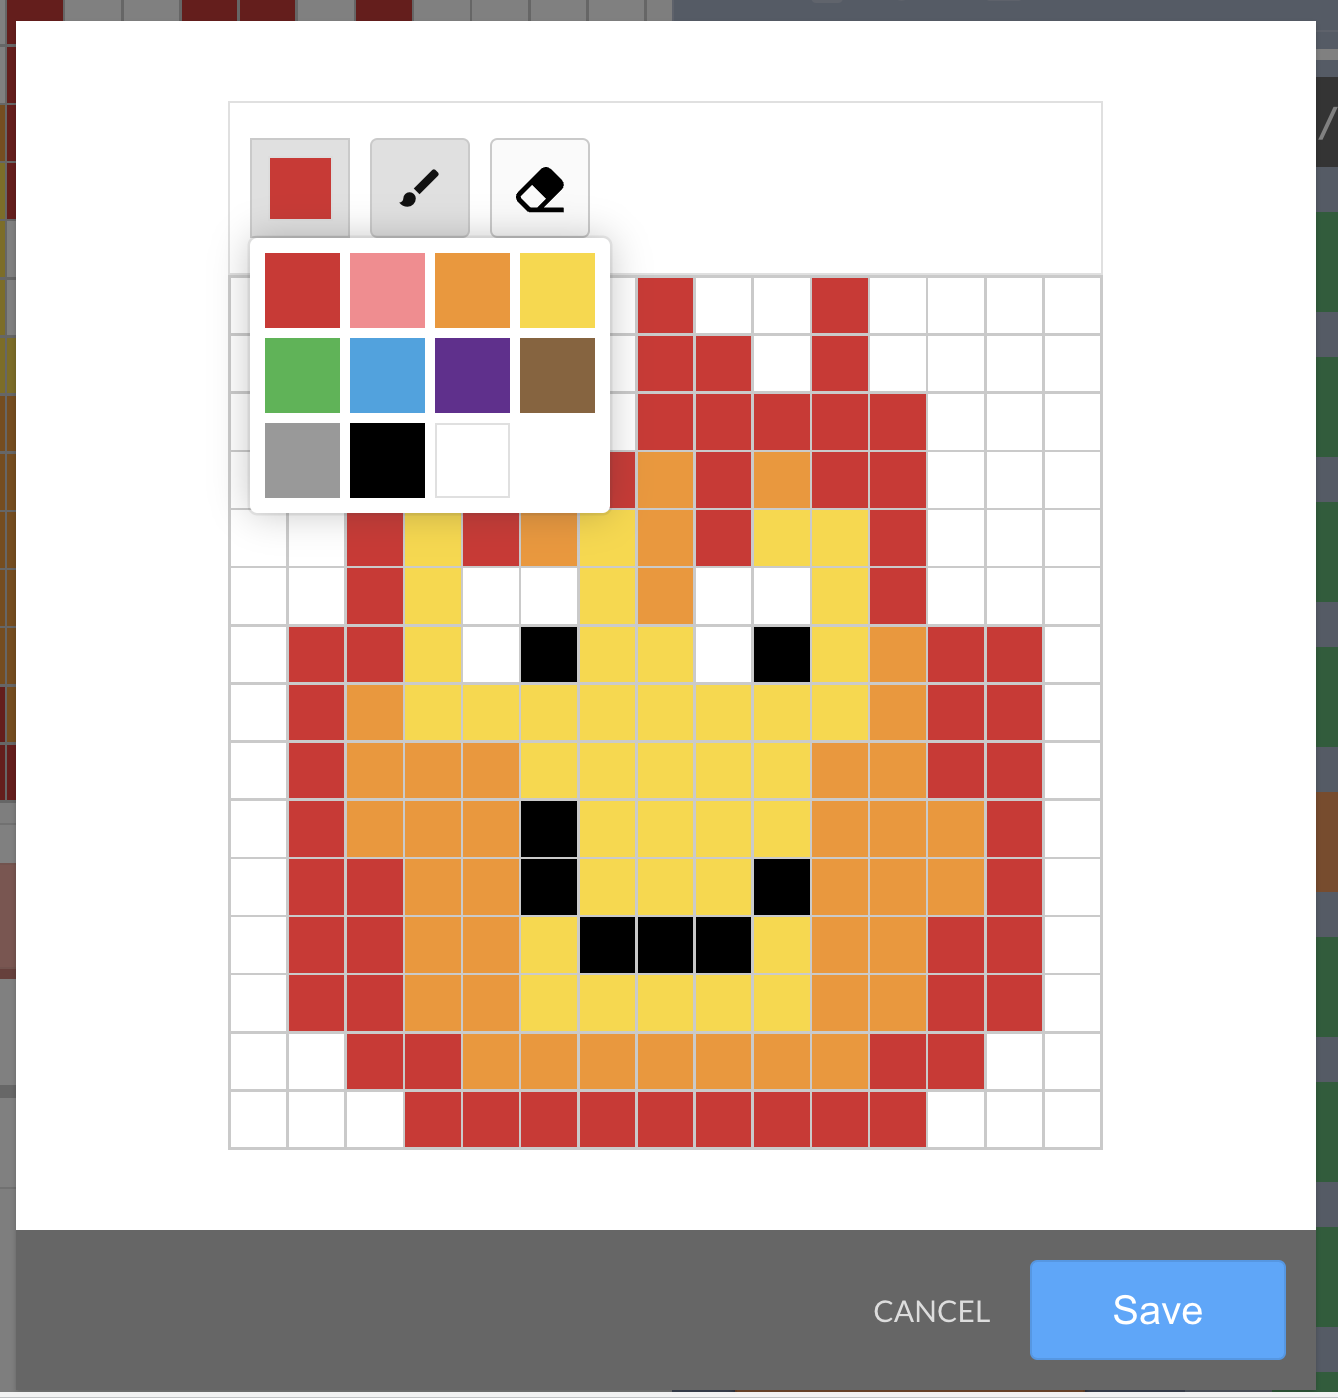
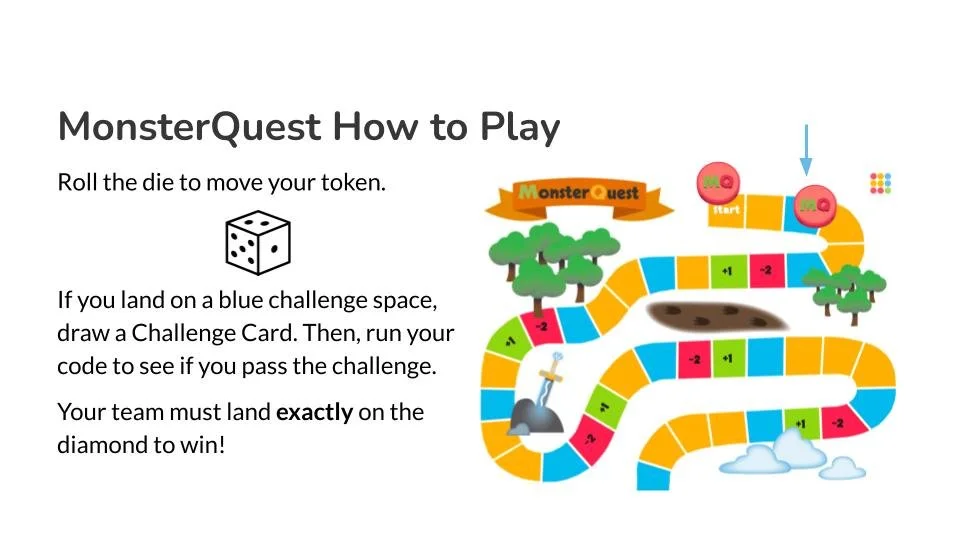
In Module D3, students end the coding year by participating in a fun and creative project, MonsterQuest, that has them code a colorful and thoughtful PixelMonster to play in a MonsterQuest board game. The project has the following requirements:
Design one Pixel Monster
Break it down with comments
Use spaces to separate chunks of code
Define and call 1st function
Define and call 2nd function
Use 3 to 4 loops
Use at least 3 colors
Use about 50% of the grid
This module consists of 10 lessons, guiding students through designing and coding their character and playing the board game:
Lesson 1
Design a character using the Character Design Handout
Decompose the character on PixelBots using comments
Lessons 2-4
Review functions
Identify parts of the character design that could use a function
Add at least 2 functions to code the character design
Reflect on progress with a partner and review code before game day
Lesson 5
Split into small groups and play the MonsterQuest board game
Setup using the MonsterQuest Game Board (1 copy per group) and MonsterQuest Game Tokens (1 set per group)
Review code during the game using Challenge Cards (1 copy per group)

